
We’re coming up on being in our house for three years and I feel like we have made SO much progress in that time. However, there are two rooms that have virtually been left untouched: the basement bathroom and the master bathroom.
After we moved in, we went back and forth on whether we gut the kitchen or the master bath first. The kitchen won and we decided that once our oldest kiddo goes into kindergarten, we’ll tackle the bathroom. Less money towards daycare = more money for bathroom renovation. Well the kiddo still has two more years until she goes to kindergarten and I couldn’t stand looking at the bathroom in its current state anymore.
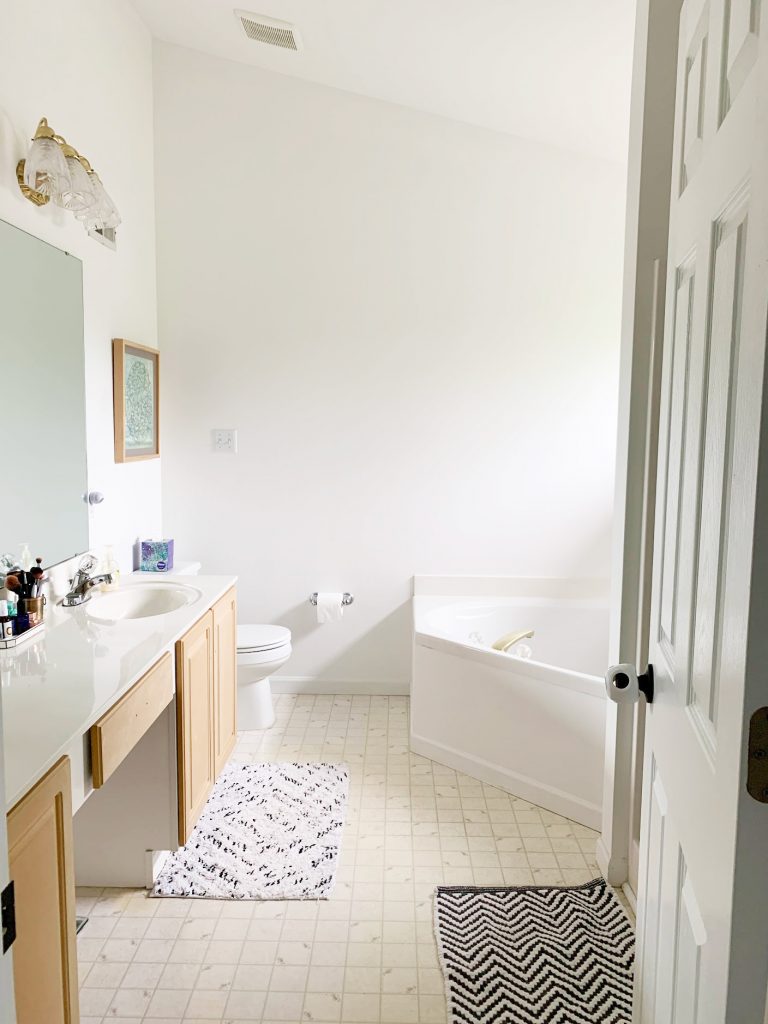
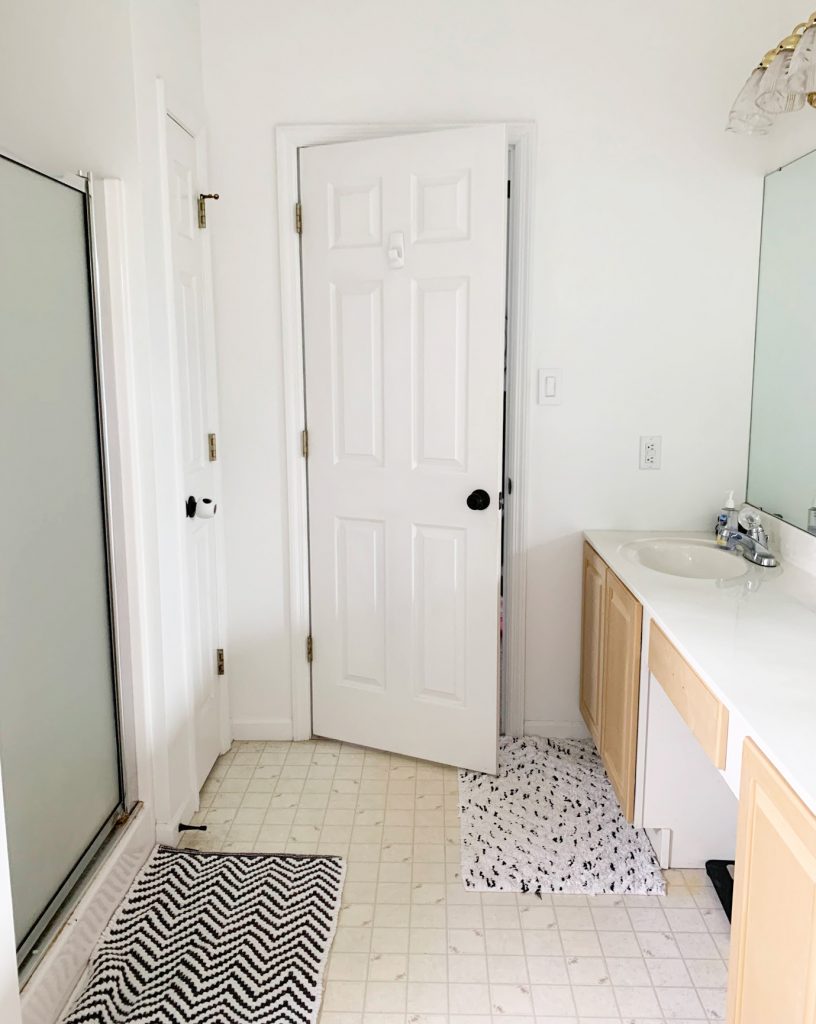
The Before
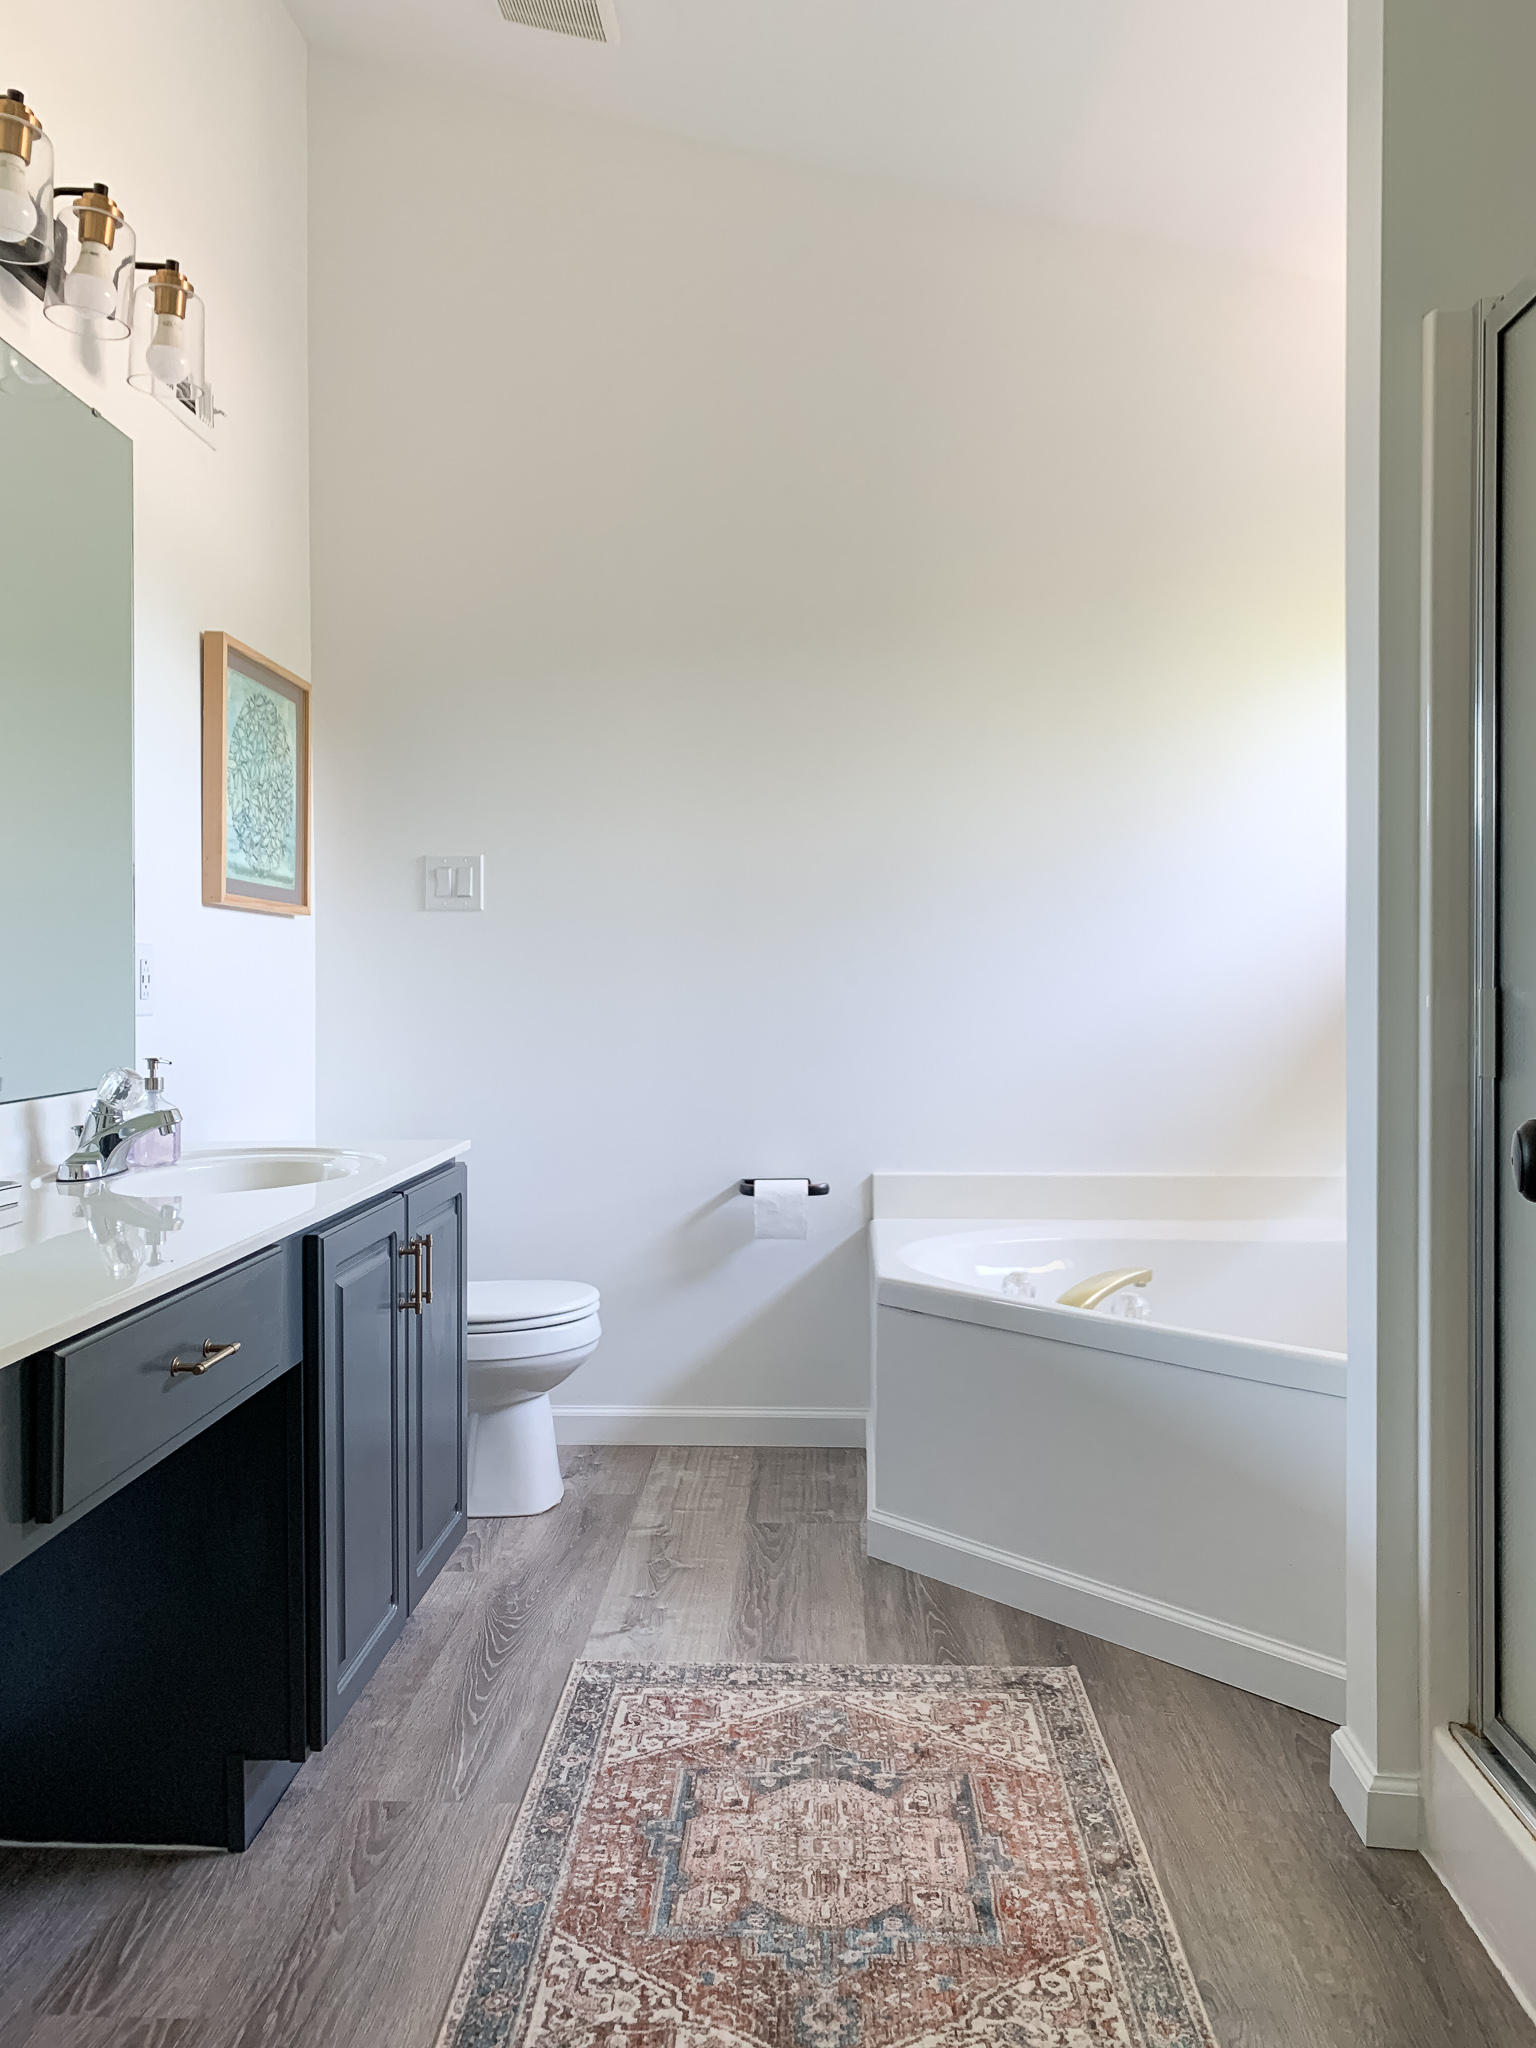
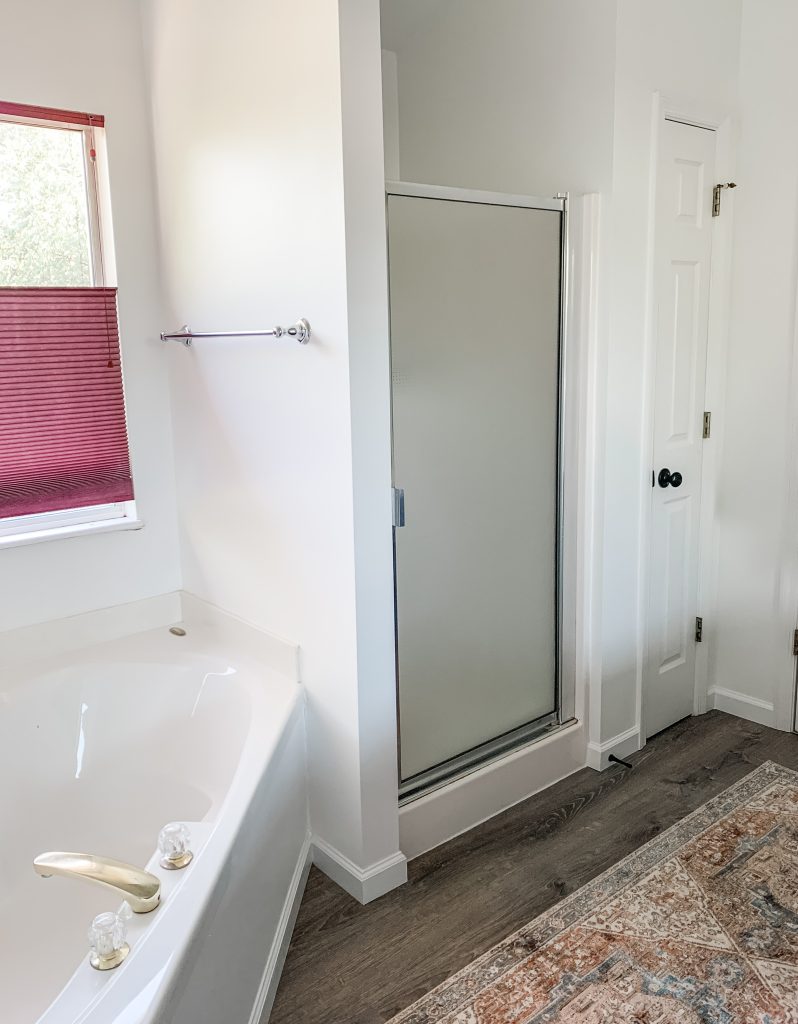
Everything was original to when the house was built 1997, with the exception of us having it painted after we moved in. The sheet vinyl flooring that never looked clean, the peeling vanity, gold hardware and lights, TINY shower and a giant tub that doesn’t drain. (I cannot wait to tear that thing out!)
The Process
While this was a refresh, we had to remember that this is temporary. We didn’t want to spend a ton of money on items we knew would be ultimately be ripped out or couldn’t be reused. This meant simple cosmetic updates. We took a look at what we could update 1) easily and 2) for a relatively small amount of money. Painting the vanity, replacing hardware, replacing lights, replacing toilet paper holder and laying new floor made our to-do list.
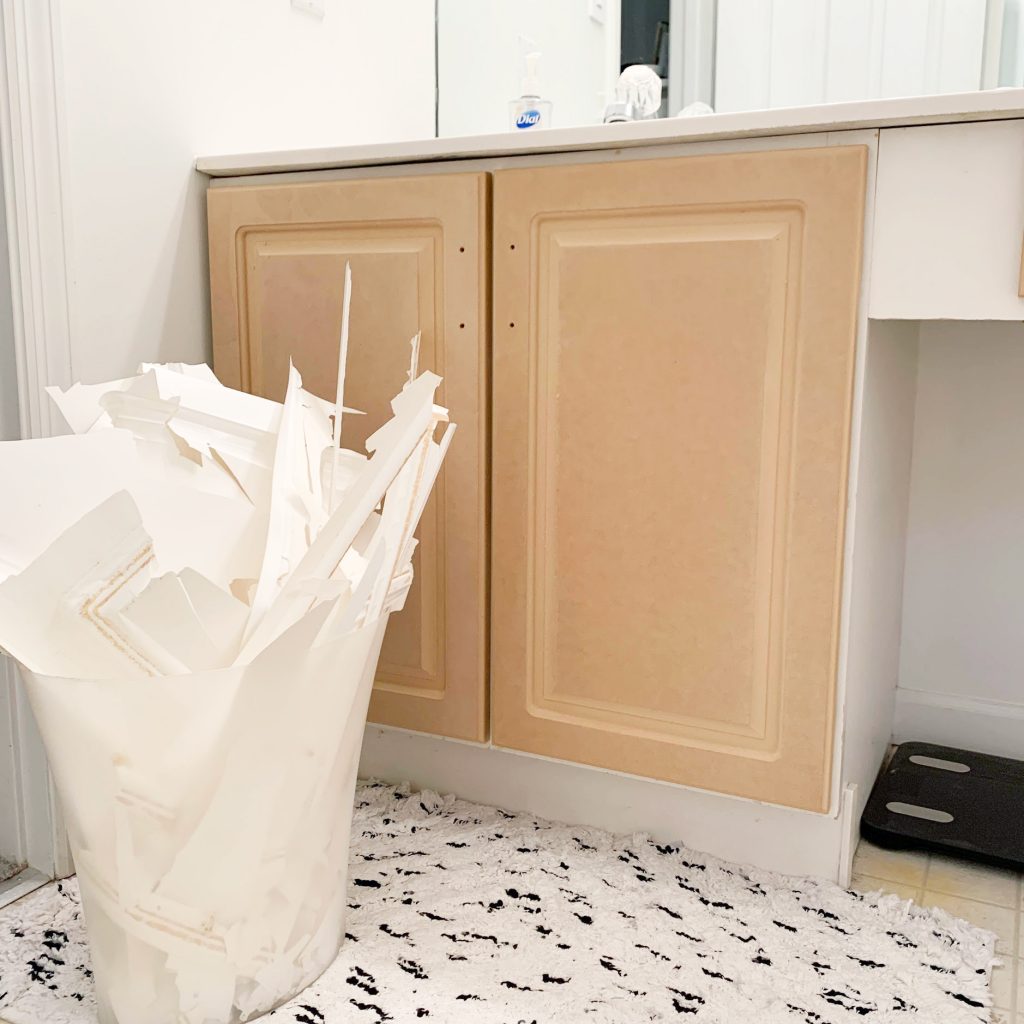
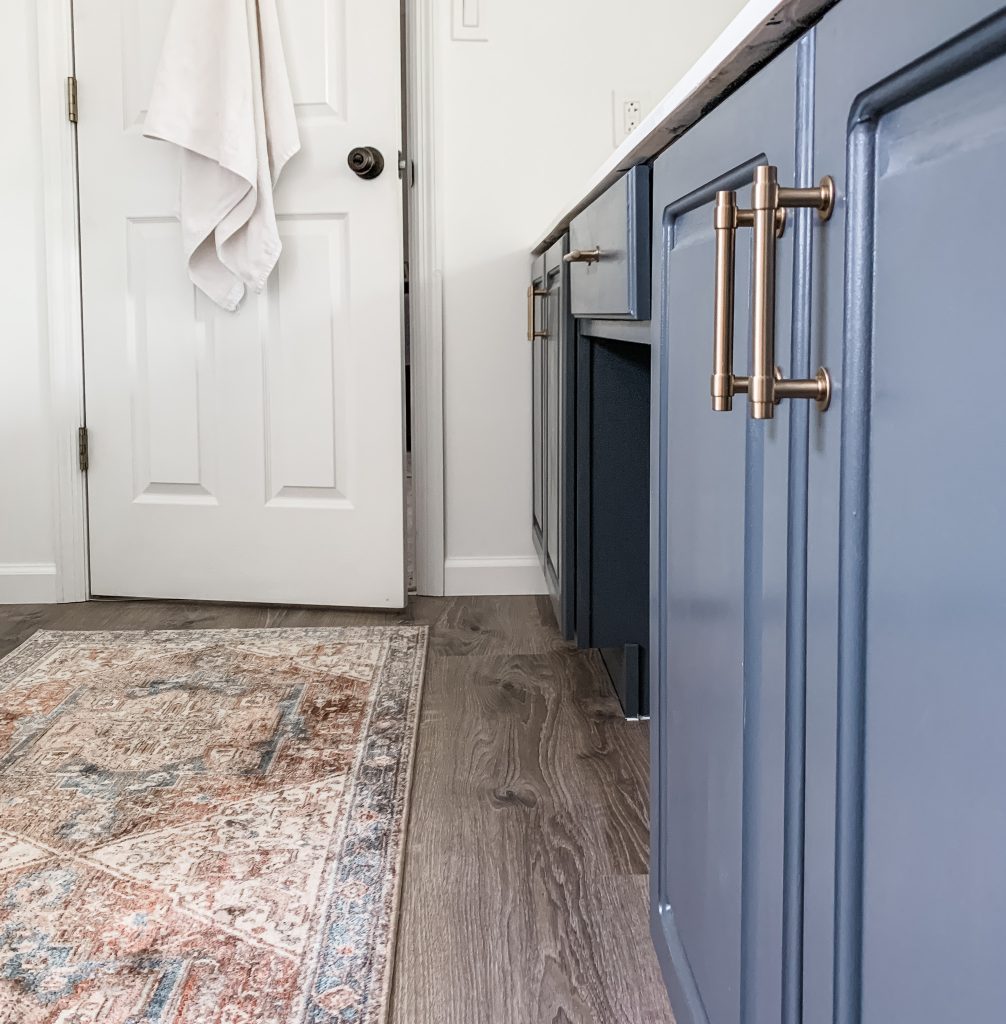
We ripped out the baseboards, removed the toilet and stripped the vinyl covering off the front of the vanity doors and drawer as our prep work. I painted the vanity with leftover paint from when I painted the hall bath’s vanity. I still love the dark navy-gray color. I purchased bronze hardware and ordered new, inexpensive lights from Amazon.
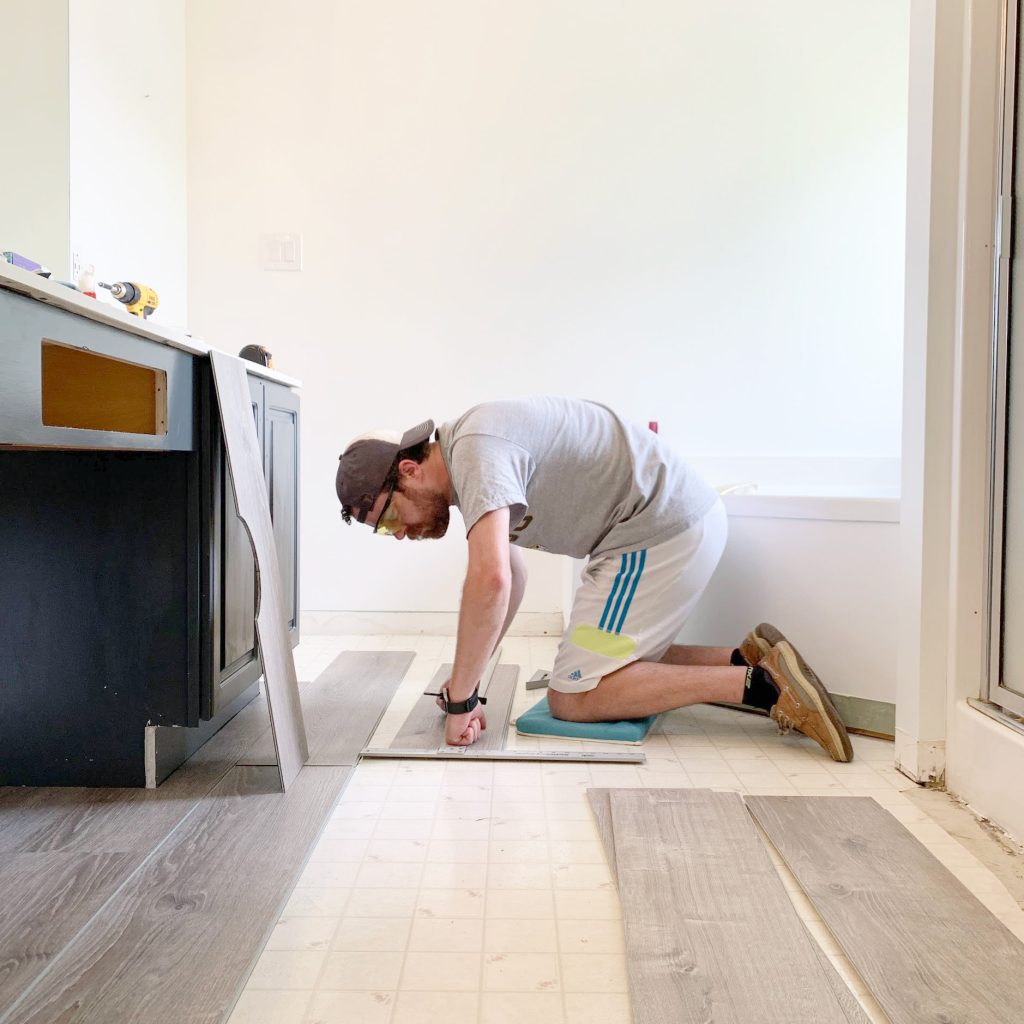
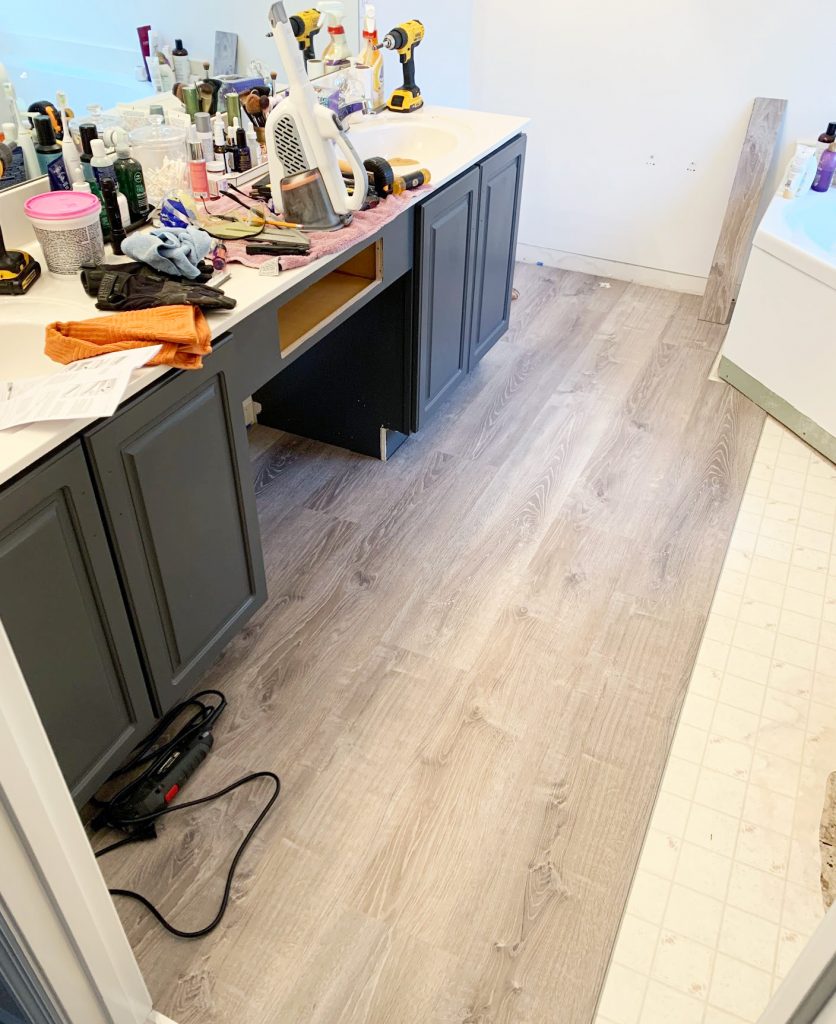
The floors are the same as what we put in the hall bath as well. The master bath is the third room we will have used luxury vinyl plank flooring in. I think it’s such a great alternative to other non-carpet flooring material, especially in high traffic areas. With the plank flooring being a floating floor, you can install right over existing floor, which we did here. It’s not hard to install, but it is a bit tedious. It’s worth having the recommended tools + a crowbar.
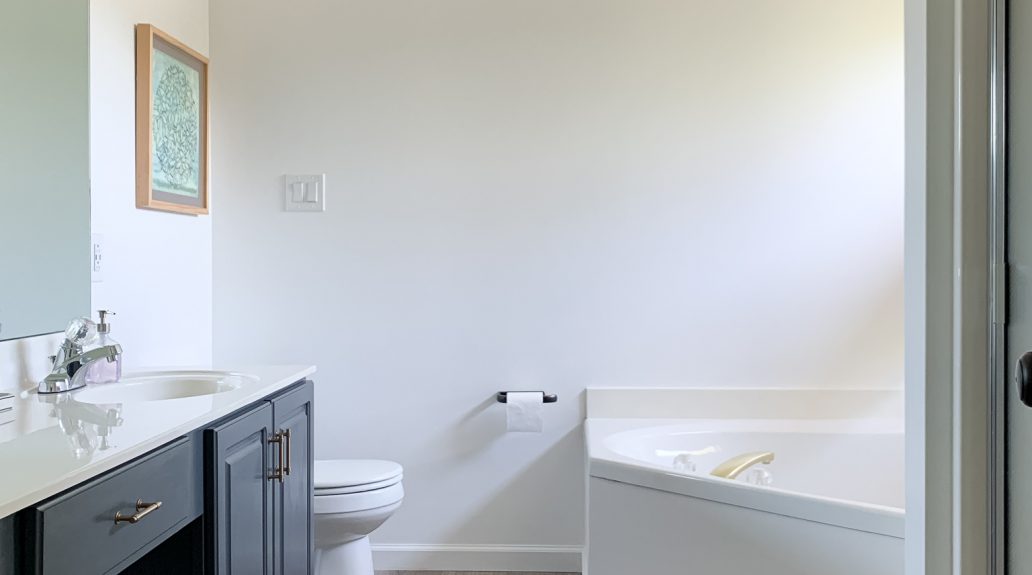
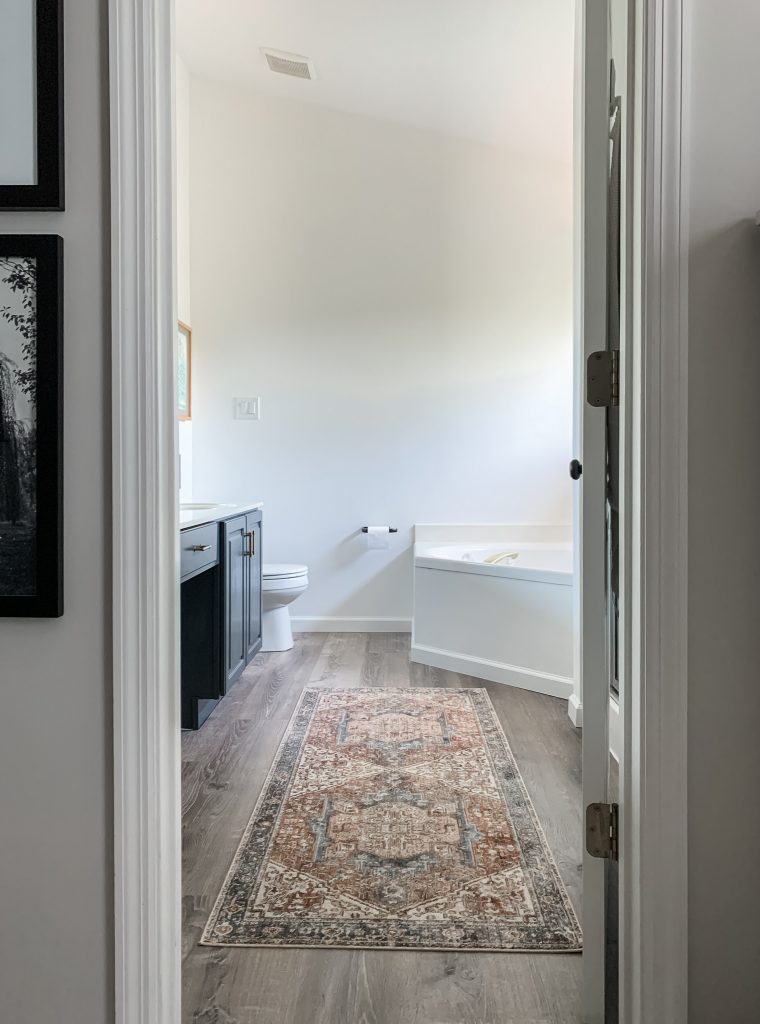
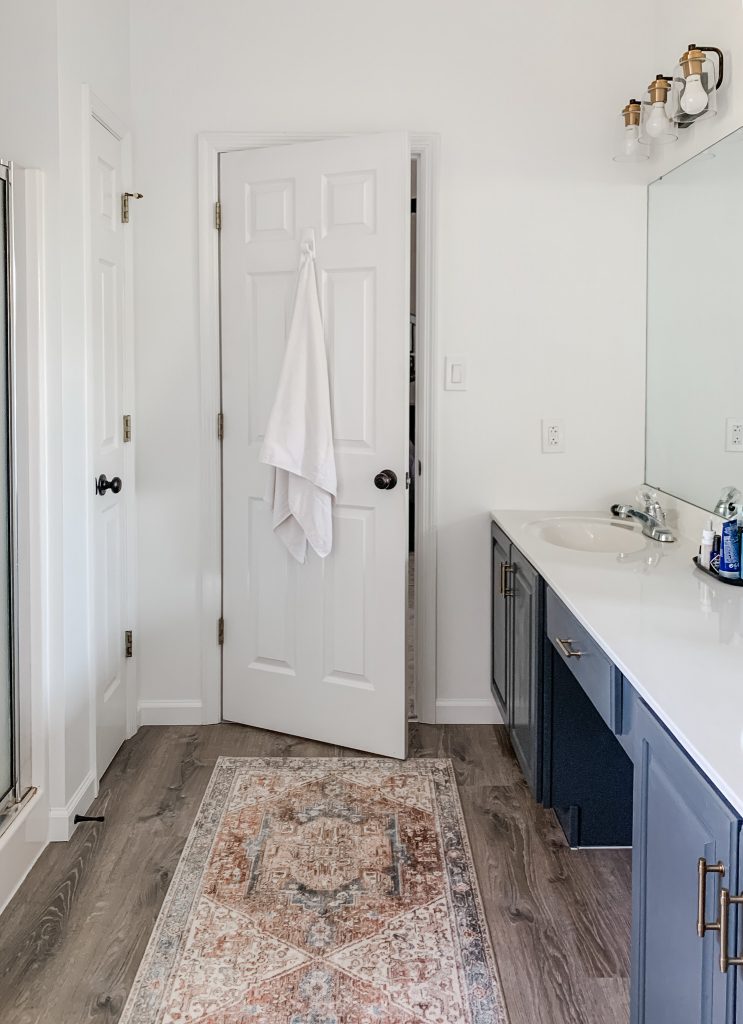
The After
We both asked why we didn’t do this small update sooner. It’s really not much but we both feel like it’s made such a big difference. It doesn’t feel like it’s 1997 in here anymore. I love having one rug vs 2-3 individual bath matts. With the floors being waterproof, we aren’t concerned about a couple drips of water when getting out of the shower.
Slide to Compare!

The Long-Term Plan
We plan to keep the layout basically the same. We overall like the placement and flow of the room. The bathtub and tiny shower will get ripped out and replaced with a generous sized walk-in shower in the corner there with the window. The linen closet will probably double in size. We’d like to reconfigure the window down the road, so we did not change the maroon window covering that’s currently there. (Left from the previous owners, ha!) Tim would love to put a skylight in this room, which I do think would totally work with the vaulted ceiling. I still may take that chrome towel bar out and place a couple hooks in its place.
Our vanity is a custom length at 92 inches long. We may opt to go with two 40″ vanities vs one long one, but that will all depend on what we find in a couple years.

But for now we’re both so pleased with this small and quick update.
Cost Breakdown & Sources
Floors: $172.00 (color: Sterling Oak)
Paint: Free – left over from other project (color: Behr Graphic Charcoal)
Hardware: $25.00
Lights: $170.00
Toilet Paper Holder: $19.00
Baseboards: $45.00
Rug: $65.00
Total: $496.00
—m.