
Remember that basement bathroom project I mentioned almost 5 months ago? Thanks to delays and other issues, our timeline has been waaaaay extended. This was suppose to be our winter project and it has quickly turned into “can we get this done by the end of 2021?” project.
But First – Delays & Trial & Errors
Delay number one was our shower pan. Because we were not moving any plumbing, we had to order a custom shower pan so the drain hole could match our existing plumbing. The shower itself is a standard size, it was strictly the drain we needed to accommodate. That automatically pushed our project out 10 WEEKS while we waited for the shower pan to come in. Demo was pretty much done, but we couldn’t move forward until we had the shower pan. (We ordered an Onyx shower pan through a local kitchen and bath store we’re really happy with the product. It is solid!)
In the meantime we were able to pick up our flooring and some other supplies we needed for the project. I realized the faucet I had originally picked out was not only damaged, but it looked terrible with the vanity. So I returned that and found a new one. We found our tile! I was so indecisive with the tile but we found marble tile from a local overstock hardware/DIY supply store for a steal. I also found a paint color and painted the walls.
The shower pan arrived in early March. We quickly realized the floor was not level when we were dry-fitting the pan. This was another timing setback as we did not account for having to level the floor. It took us THREE tries to get that floor under the shower pan level. You can’t have a shower pan that rocks back and forth or dips in the center where a person is standing to shower. After we were happy with the leveling job, we installed the flooring. Onyx recommend that luxury vinyl plank flooring gets installed to go fully under the shower pan. (Tile would be installed after.) We used the exact same floor we had installed in the rest of the basement, and are really happy with that decision.
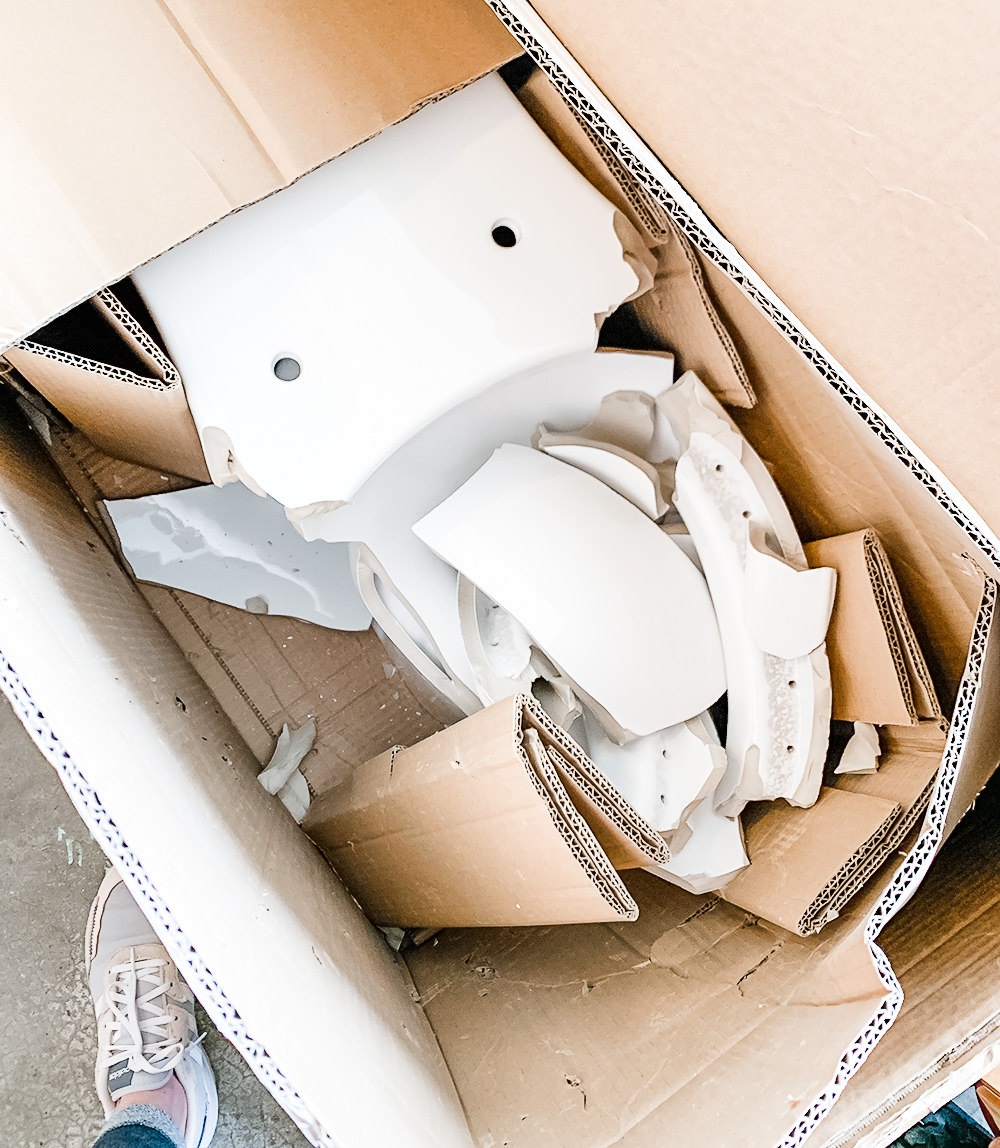
We also ordered a toilet during this period. For some odd reason the previous homeowners did a 14″ rough-in when a 12″ rough-in is standard (or at least done 98% of the time). So finding a toilet to fit the odd rough-in took a couple nights of searching. Toilet arrives – little bit of damage at the base and a flaw on the tank. We asked for a replacement. The next toilet came in and the base was shattered into pieces. You could actually hear the broken pieces moving around in the box when it was delivered. UGH. So we ordered a third toilet through a different company and it arrived in perfect shape.
So we’ve had some setbacks for sure. (Did I mention we went on two trips during March so that also delayed things.)
The Installation
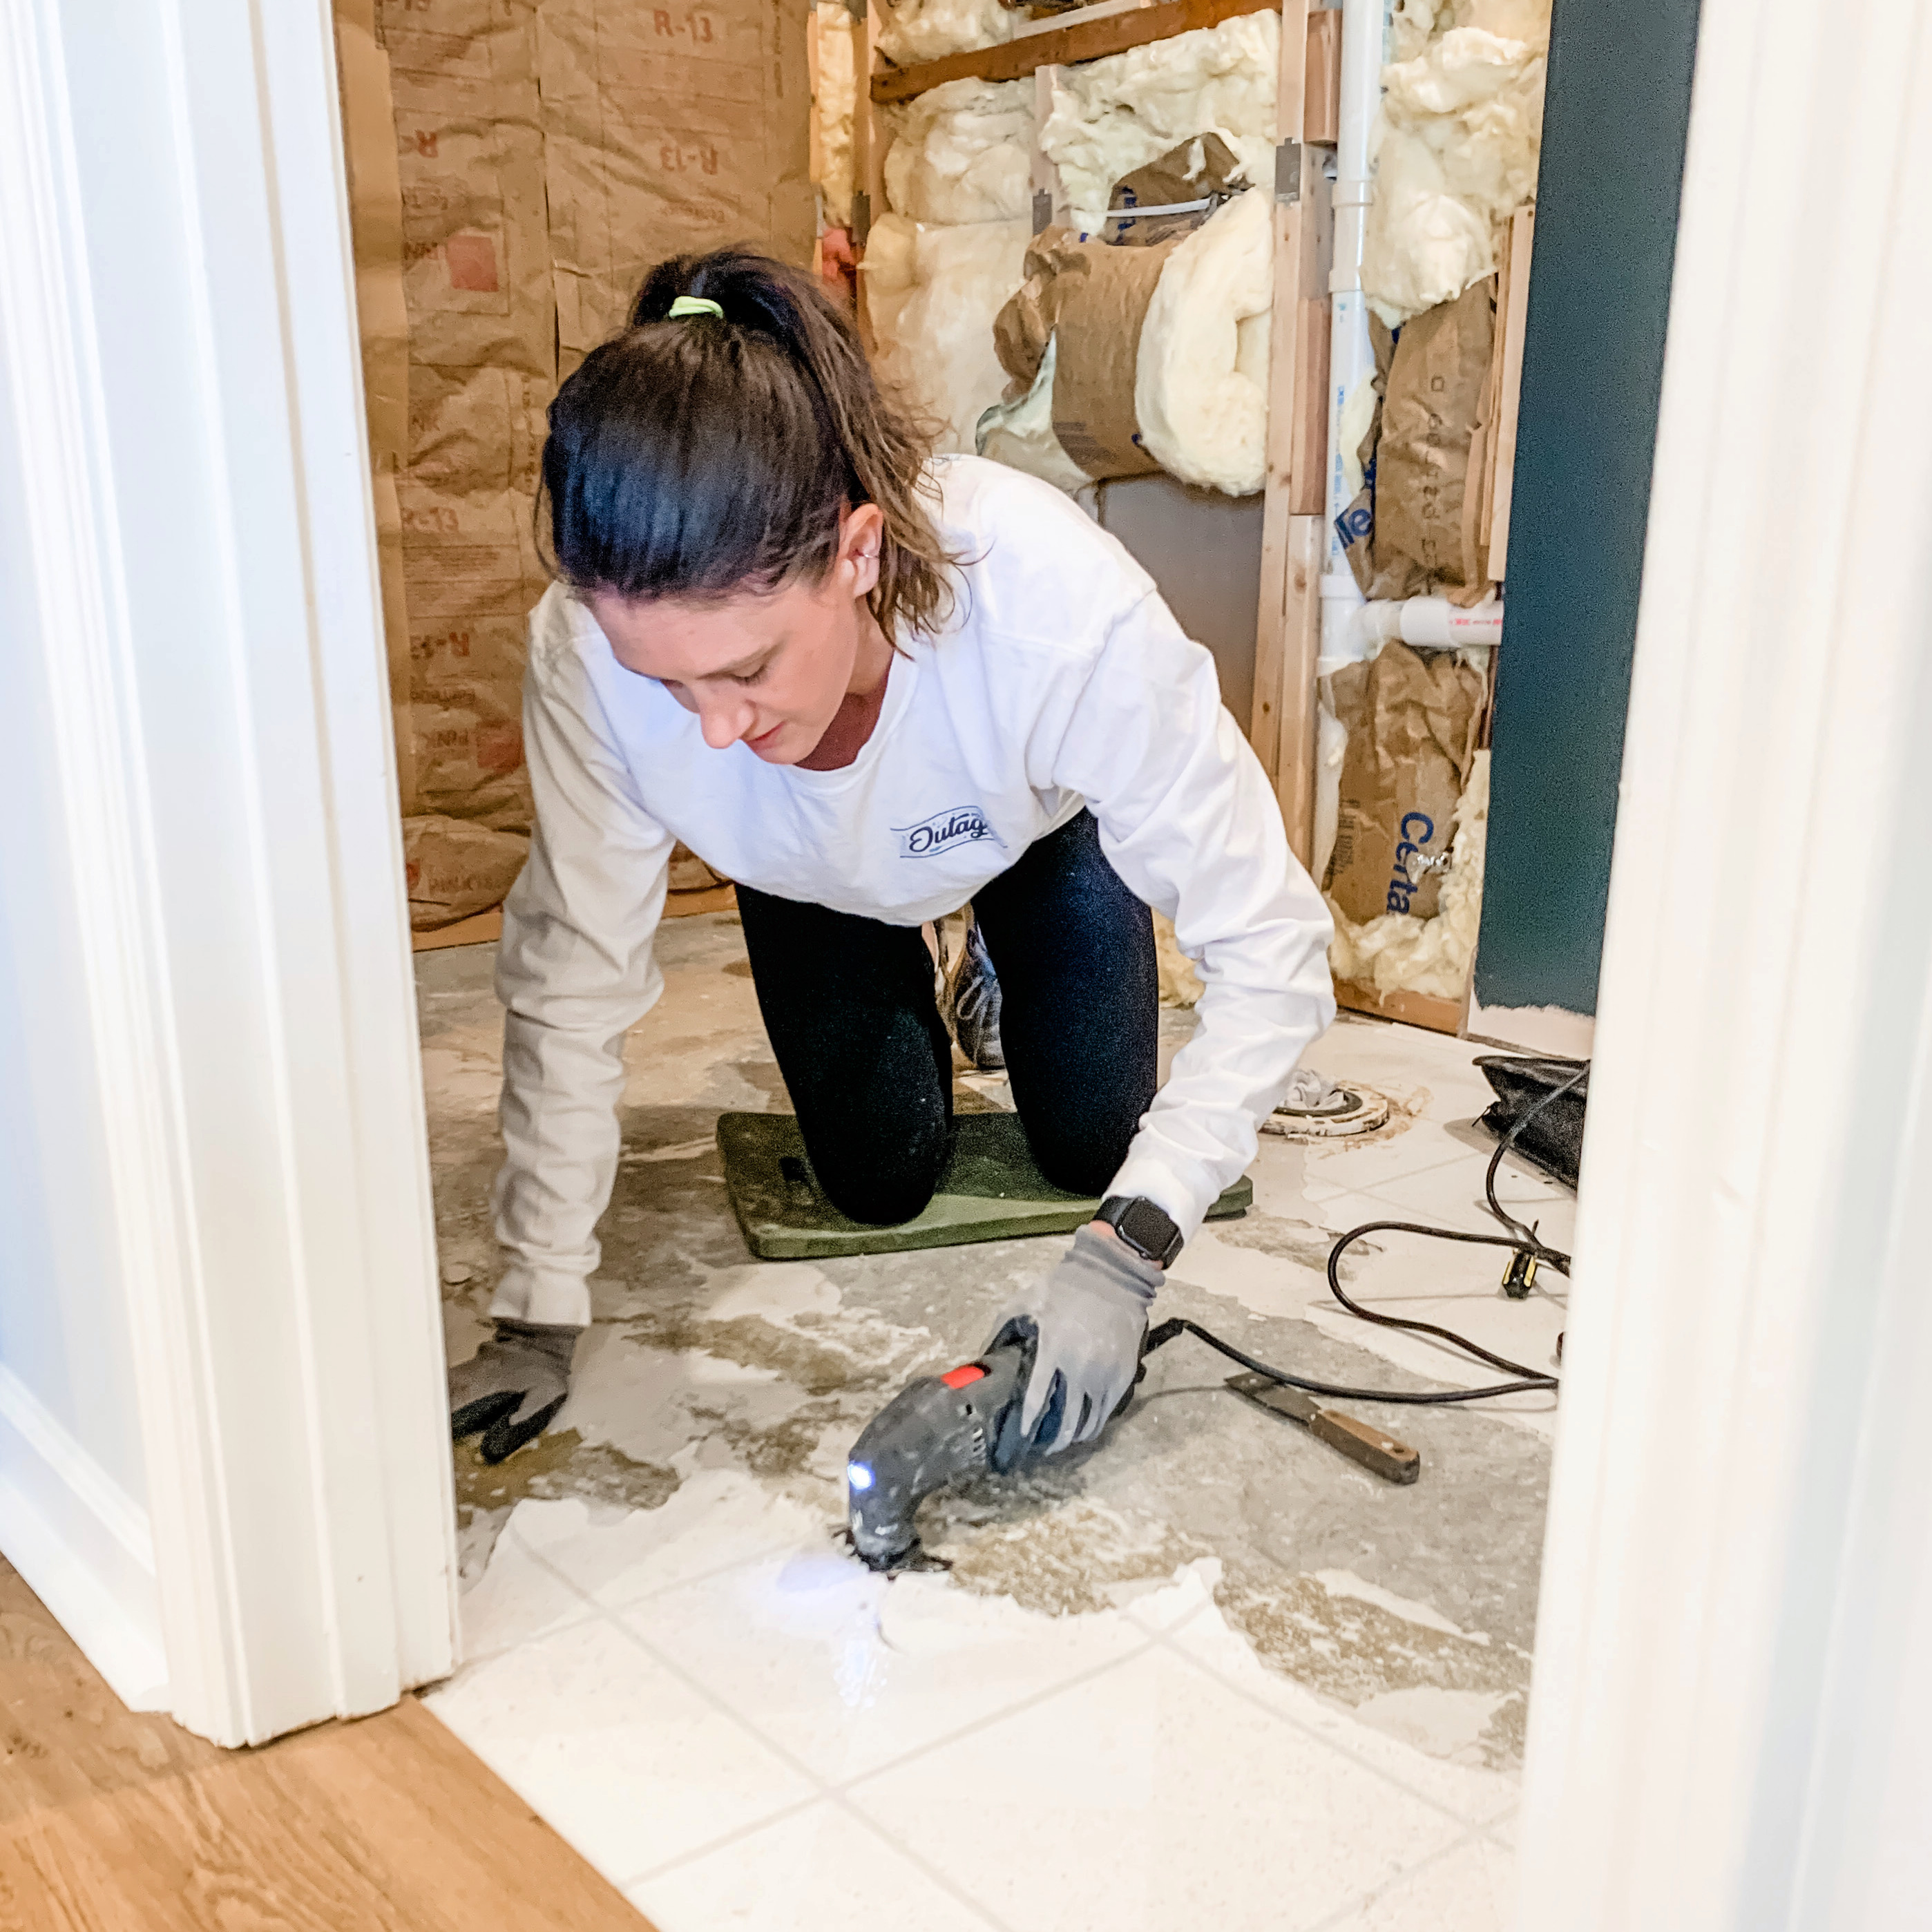
Step 1: Level the Floor
Products Used: Acrylic Primer, Self-Leveling Underlayment
As I said before, we needed to get the floor level. We started by applying an acrylic primer directly onto our concrete floor, followed by the self-leveling underlayment. When you read the words “self leveling” you really think that is what will happen but it’s not. You really need to pay attention to what areas need to be brought up higher and floating it out.

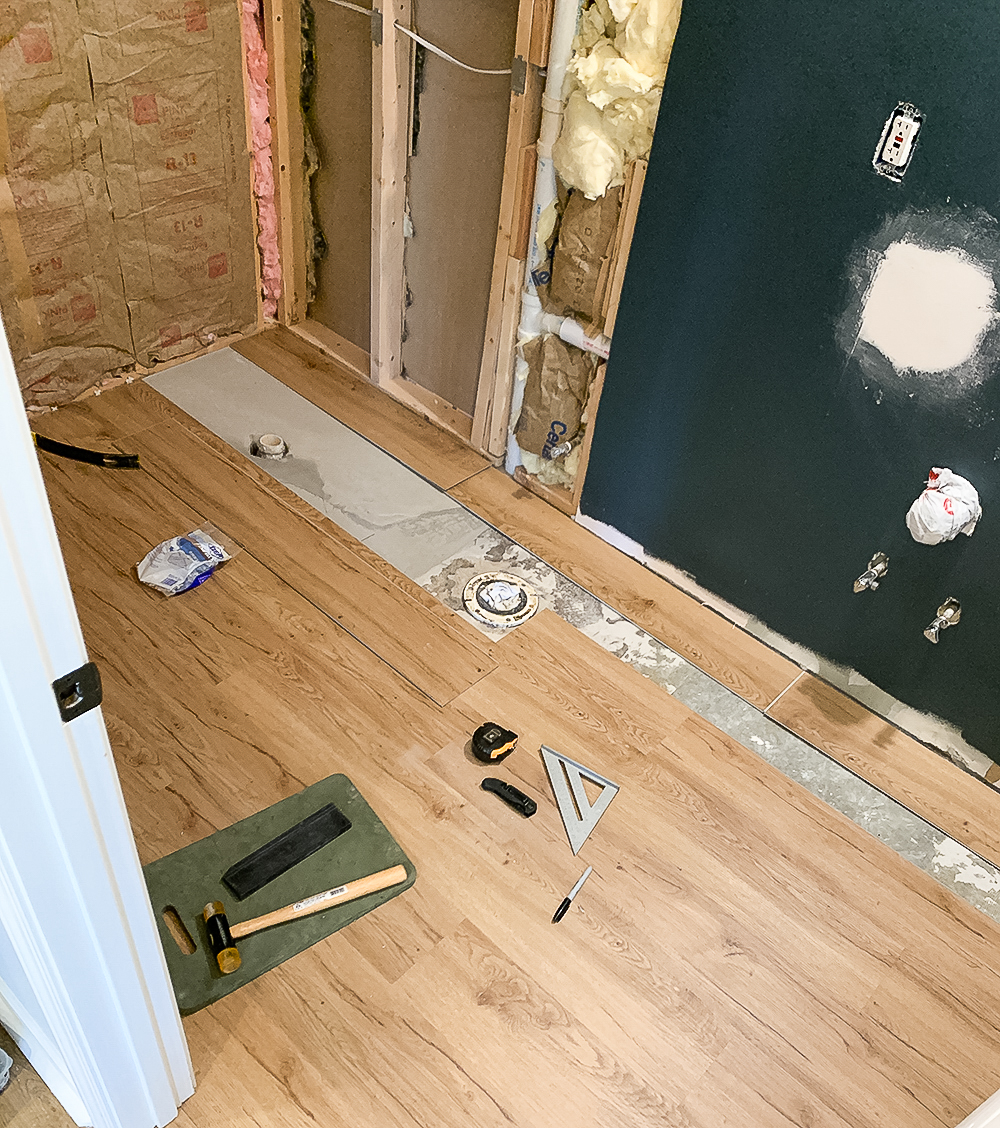
Step 2: Install LVP Floors
Products Used: Lifeproof Essential Oak Luxury Vinyl Plank Flooring
These are really easy to install – just follow the directions that come with the product. Pro Tip: Have a crow bar handy to help get that last row in just right.
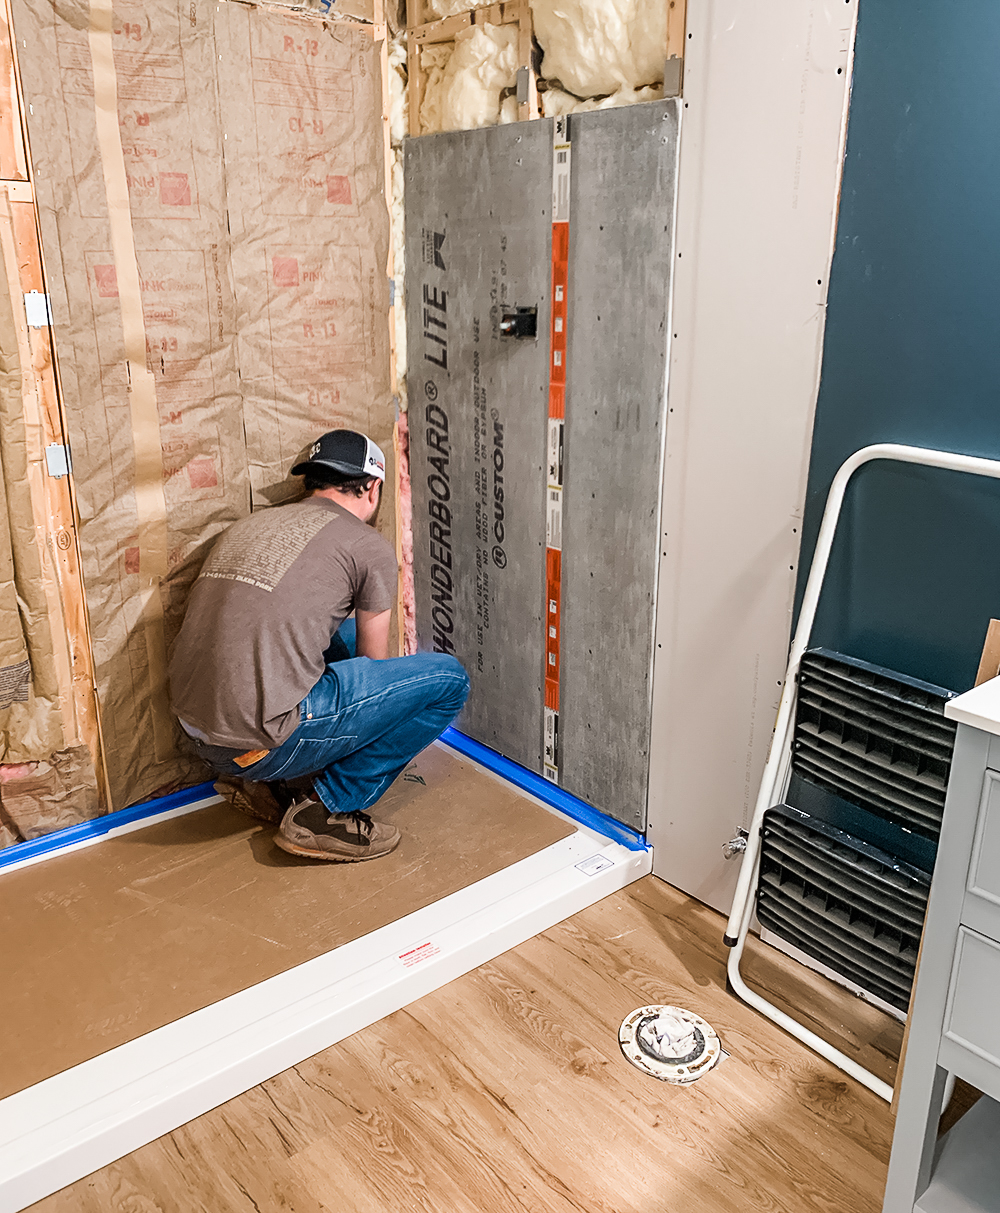
Step 3: Install Shower Pan + Drain
Shower Pan: Onyx Collection in Glacier White, Med-Height Profile
The pan came with clear directions for this step and overall I’d say it was pretty easy to set down and get glued in place. The drain took a little more coaxing because ours was a tight fit but the steps to install the drain are clear.
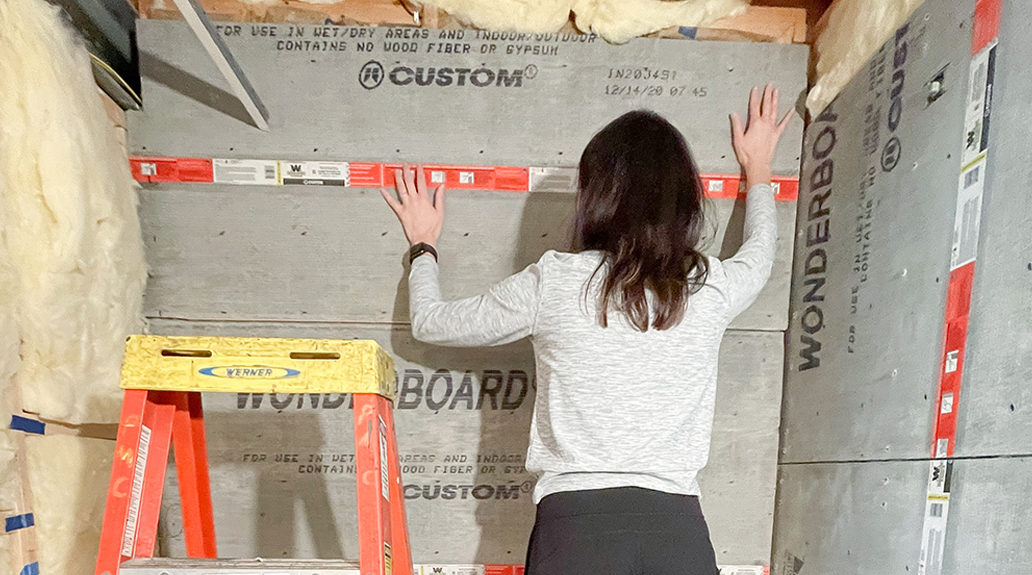
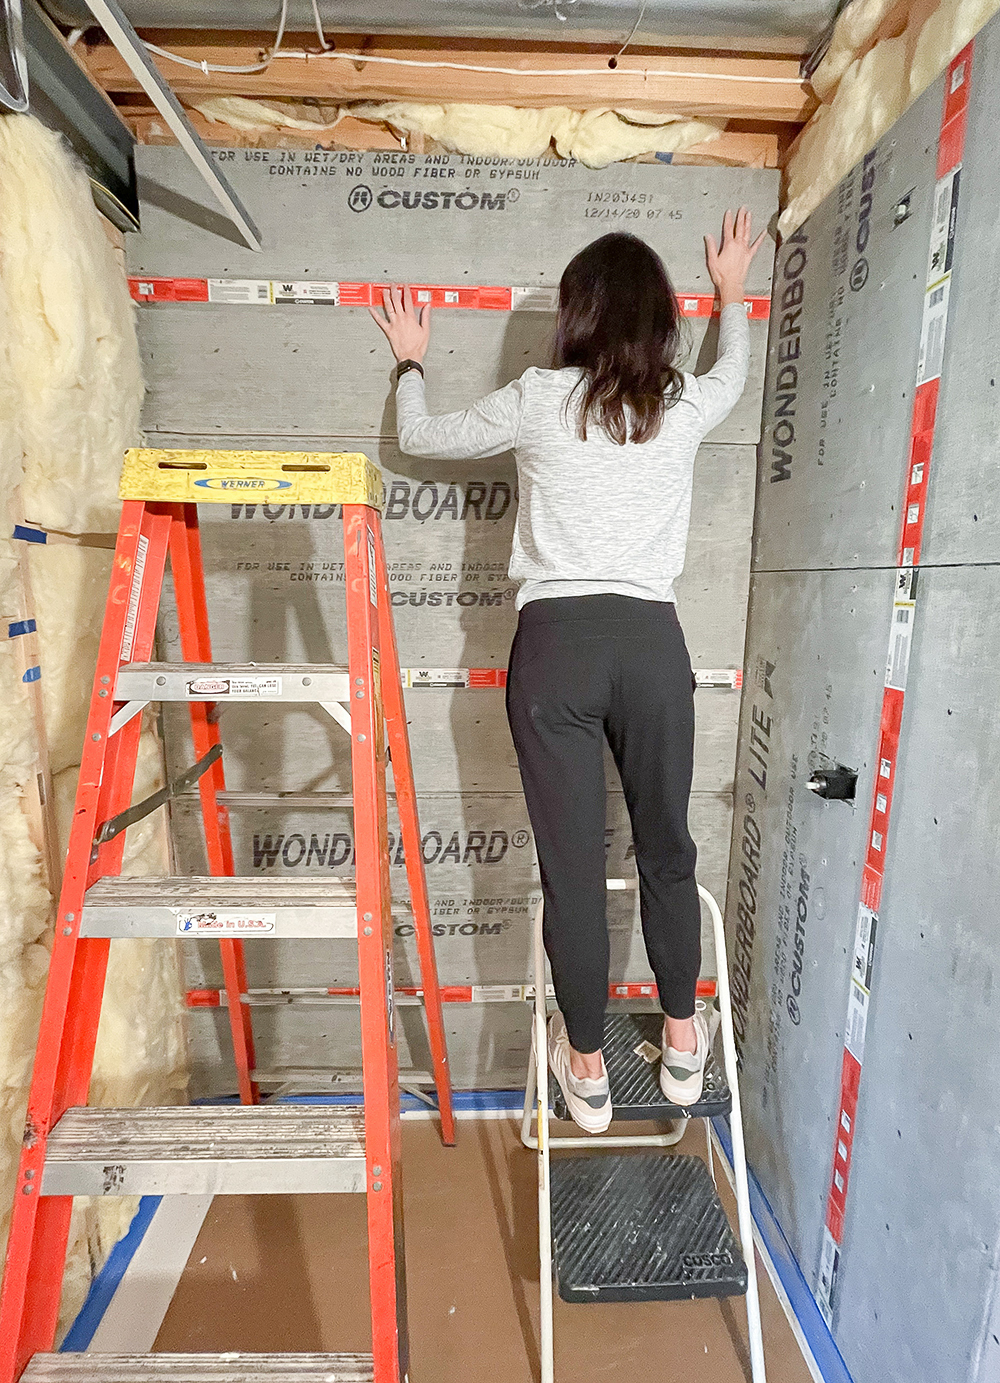
Step 4: Cement (Backer) Board + Thin Set
Products Used: Cement/Backer Board, Seam Tape, Thin Set
Next came installing the cement board. I’d like to think I have decent upper body strength, but the shower pan and holding up cement boards really tested that. I almost dropped both at one point. When installing cement board, you want to leave 1/4″ space between the top of the shower pan and the bottom of the cement board. Installing cement board also requires a lot of screws! After the cement boards were in place, we used alkaline resistant seam tape in the seams, followed by going over all of the screw holes and seams with thin set as the first step of waterproofing. We took the backboard as high as we could, though it’s only necessary where tile and water will be.
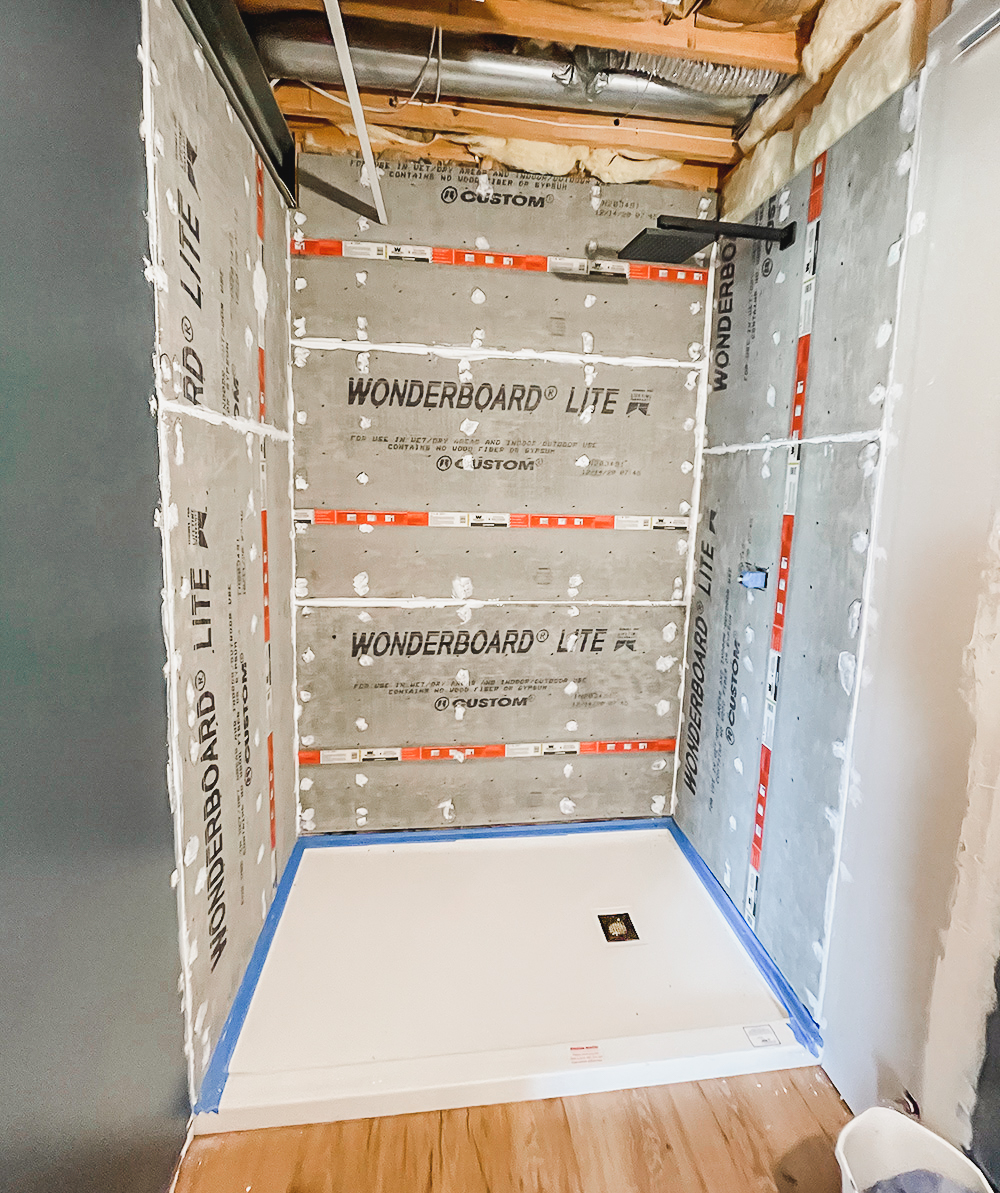
Step 5: Red Guard
Product Used: RedGard Waterproofing and Crack Prevention Membrane
The final step in prepping and waterproofing the shower was applying RedGard. You brush and roll it on like paint and need to apply two coats at minimum. I believe we did three or four coats. Let it sit for 24 hours before moving on to installing tile.

So that is where we are today!
Next Steps
We still have a lot to accomplish! I would say we’re about 40% finished with this project.
Our immediate next steps are:
– Finish patching and sanding the drywall seams
– Prime and paint the walls (again where needed)
– Install toilet
– Find tile end caps / edging (our tile did not come with a bullnose option and we haven’t been able to find a match)
From there we’re going to move on to installing the new drop ceiling system. This is such a snowball type of project. We want to add the ceiling system before we tile (though not totally required). We can’t finalize the vanity placement until the toilet is in, and we can’t hang the light until the vanity is place. (We think the light will have to move over which means more drywall work.)
Wish us luck!
Products Used:
Luxury Vinyl Plank floors in Essential Oak
Acrylic Primer
Self-Leveling Underlayment
Cement/Backer Board
Seam Tape
Thin Set
RedGard
—m.