
I have been wanting to write this post for the last week and finish showing off the mini, and not–quite–done, fireplace makeover that started talking about two months ago. Every time I wanted to sit down to do so, some sort of obstacle/distraction got in my way. The latest obstacle was finding the cord to my almost broken camera. So this post is quite a bit over due. Like a few weeks over due.
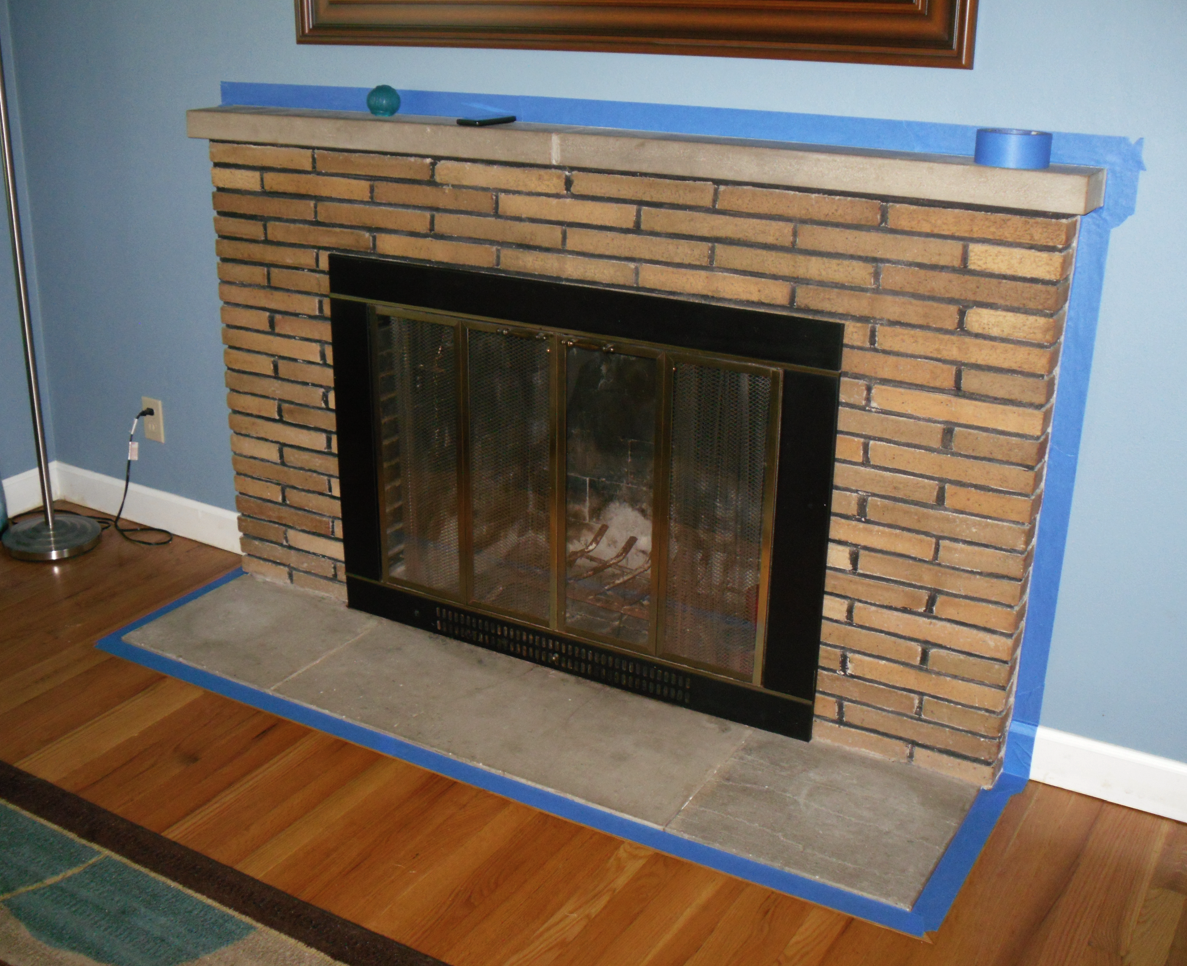
Anyway…about two months ago, our fireplace looked like this—minus the blue painters tape. I normally love brick fireplaces, but because the previous owners of the house painted the grout lines black I wasn’t liking this fireplace at all. The old school black and gold box and the cracked concrete hearth weren’t helping either.

Here’s a half decent shot of what the fireplace looked like once we got the box out. It was so much better already, but check out how dirty the inside was. I had my work cut out for me getting it clean.

So after a couple coats of primer and a couple coats of paint, I had this—a new, white fireplace. That was only about quarter of the way done.

Check out the ash drop in the back. It goes down to the basement. Since we’re remodeling the basement, a custom box is being built around it so we still have access to it if we ever decide to use the fireplace in the future.

So the next day—actually I think it was the following weekend—I tackled the inside. Lots of scrubbing. I started out using these steel wool scrubbers that some people use on their dishes, but the ones I was using already had some sort of cleaning product in it. I can’t remember the name, but it started turning everything blue because of that cleaning product. Which was also making it harder to get the inside clean. The blue soap was mixing in with the soot and staining the sides, and my hands. So I had to switch back to good ol’ dish soap and water and using a different brush for cleaning. My arms were so tired afterwards.
Because the brick is porous, I had to let the brick dry a good 24 hours before I started painting. I used a high heat resistant paint. I believe it’s good for up to 1500 degrees. I picked it up from Home Depot—one of the guys in the paint department helped guide me to what I needed. While I was at it, I picked up some heat resistant spray paint [normally used for outdoor grills] for the log grate. The grate is in perfectly fine shape, so no need to get a new one—just update it. I took that outside and gave it a couple coats of spray paint. Here’s the end result of inside makeover…

And a close up of the inside and grate. Looks good as new.

But the fireplace still isn’t completely done, but I’d say it’s about 40% there. We want to add a thick wood mantel, and also fix the hearth. It’s stained, cracked and ugly as you can clearly see.

Tim is fine with the concrete, but I’m not. Honestly, I just think he’s scared to pull it up and discover what’s under it. I think it will just be the subfloor. I did go to a tile shop down the road that carries just about every option you could ever think of when it comes to tile. I looked at some travertine (way too expensive), slate, granite, marble and some others. I didn’t fall in love with anything in particular, but I did like quite a few of the options. I will probably end up putting caulk in the cracks and paint it white for the time being.
So for now the fireplace looks like this, but eventually the hearth, mantle and mirror will be updated. Sooo much better than before!
 —m.
—m.
One Comment
Comments are closed.