
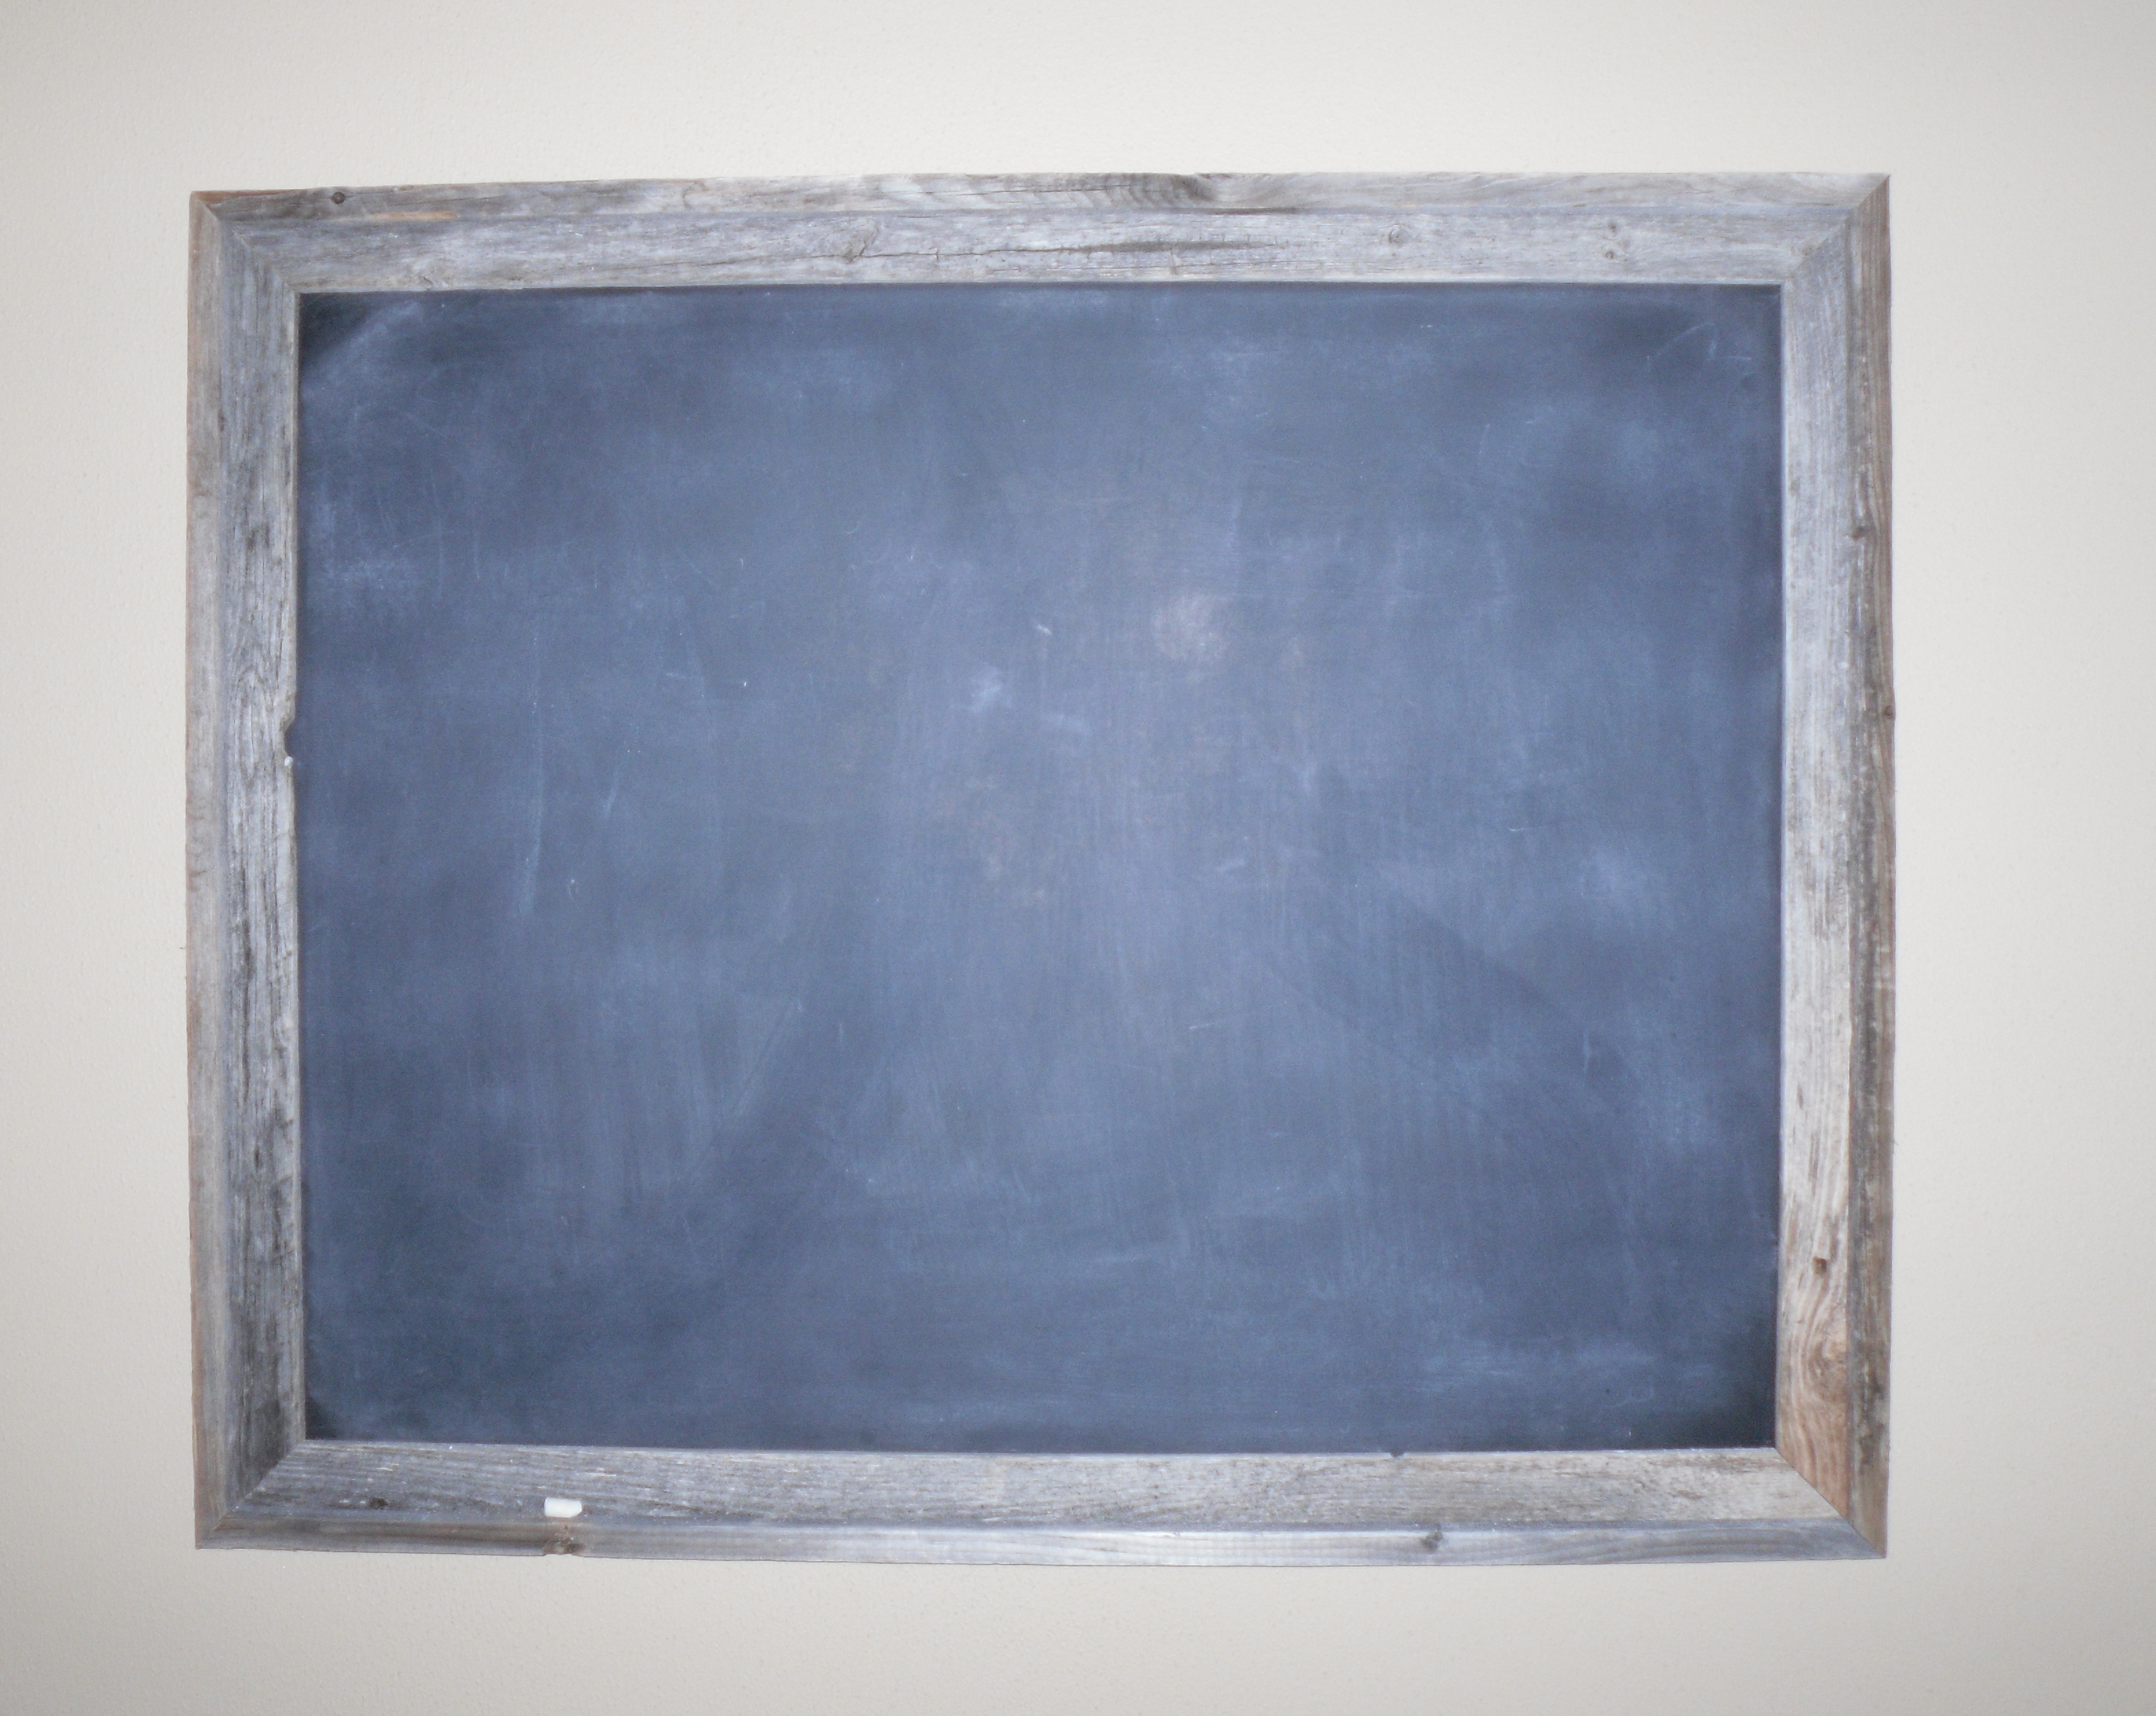
I’m gearing up to reupholster a chair this winter, so I’m attempting a few smaller DIY projects until then. This project is for a corkboard, and it was super easy. Last year I made this chalkboard for my senior capstone class. I picked up the frame from Hobby Lobby for $25, and a can of chalkboard spray paint for $7. I spray painted the masonite backing board, removed the glass, and Viola! I had a homemade chalkboard. I do recommend giving the board at least two, if not three, coats of the chalkboard spray paint for best results. Oh, and please excuse the colors in the pictures…I’m not the best at taking indoor pictures.

Well now I decided I needed a corkboard. I went back to Hobby Lobby to buy the exact frame. They were having a sale, and I got the frame for $12. For the corkboard, I would get an open frame—no backing board or glass. So for this project you’ll need: an open frame, foam core board, cork, gorilla glue (or another type of heavy duty glue), and cutting tools (cutting board and exacto knife).

Step 1: Cut out the foam core board and cork to fit the size of your frame.
Step 2: Glue the cork to the foam core board using the gorilla glue. Make sure you place heavy objects on top during the drying process, which can last up to two hours.

Step 3: After the foam board and cork are glued and dried, spread the glue on the inside of the back side of the frame.

Step 4: Place the cork/foam board into frame. You’ll want the cork facing down so it will be exposed when flipping the frame over. Once again, place heavy objects (books work best) on top to help with the drying process.

Just a couple hours later, you have a finished corkboard!
 —m.
—m.
One Comment
Comments are closed.